Achieving that perfect lifted blush look can enhance your features and give you a fresh, youthful appearance. This trend has taken the beauty world by storm, and mastering it can elevate your makeup game. Here’s a closer look at the techniques and tips for achieving that sought-after lifted blush effect.
Understanding Lifted Blush Technique
The lifted blush technique focuses on applying blush in a way that visually lifts the face. Instead of placing blush on the apples of your cheeks, this method encourages placement higher on the cheekbones and towards the temples. This placement helps to create the illusion of higher cheekbones and a more sculpted face.
Choosing the Right Blush Product
Selecting the right product is crucial for achieving a lifted blush look. Cream blushes are often preferred as they blend seamlessly into the skin, giving a more natural finish. However, powder blushes can also work if applied correctly. Look for shades that complement your skin tone and provide a natural flush.
Application Tools
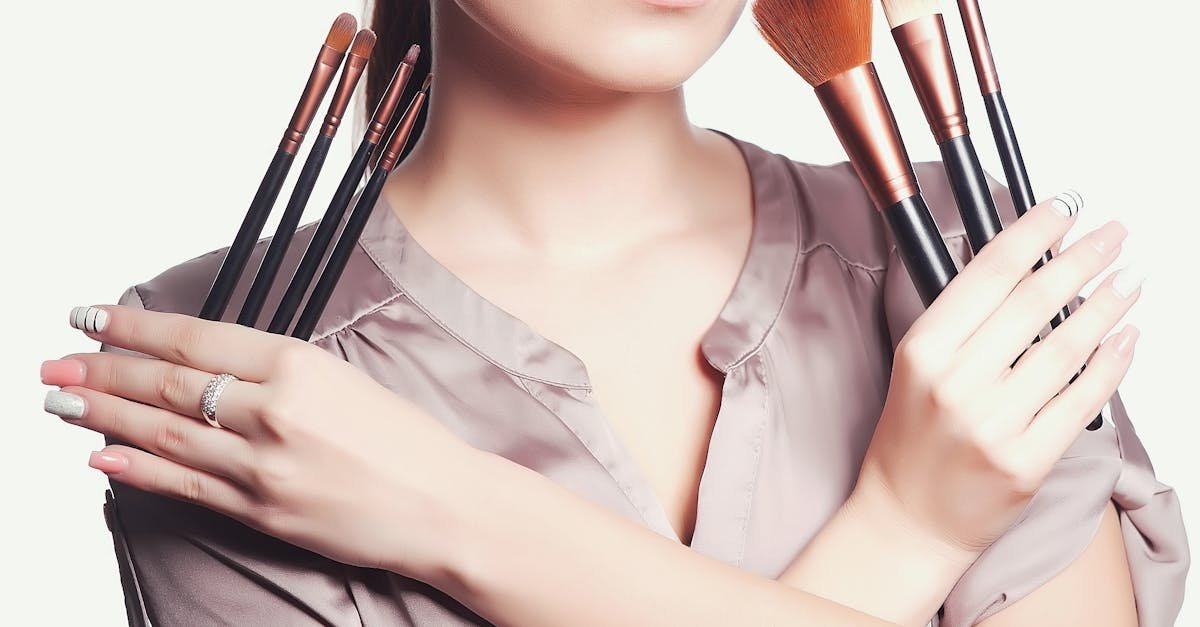
The tools you use for application can make a significant difference. Using a fluffy brush can help diffuse the product for a softer look. Alternatively, fingers can be great for cream blushes, allowing for a more controlled application and blending. Choose your tools based on the product type for the best results.
Blush Placement Techniques
To achieve that lifted effect, start by smiling to find the apples of your cheeks, then apply the blush above this area, blending it towards the temples. This technique encourages a lifting effect. Experiment with the angle of application to find what works best for your face shape.
Layering for Depth
For a more dimensional look, consider layering different shades of blush. Start with a base shade and then add a slightly deeper shade on top, focusing on the outer edges. This not only enhances the lifted effect but also adds depth and interest to your makeup.
Finishing Touches
After applying blush, it’s essential to blend everything seamlessly. Use a clean brush or a damp beauty sponge to gently blend the edges. This ensures there are no harsh lines and that the blush looks like a natural flush. Adding a highlighter on top of the cheekbones can further enhance the lifted appearance.
Setting Your Look
To ensure your lifted blush lasts throughout the day, set your makeup with a translucent powder or a setting spray. This step is especially important if you have oily skin or if you’re in a humid environment. A light dusting of powder can help keep your blush in place without making it look cakey.
| Technique | Product Type | Application Tool | Placement | Finishing |
|---|---|---|---|---|
| Lifting Effect | Cream Blush | Fluffy Brush | Above Cheeks | Blend with Sponge |
| Layering | Powder Blush | Fingers | Outer Edges | Translucent Powder |
| Highlighting | Liquid Blush | Dense Brush | Cheekbones | Setting Spray |
| Blending | Gel Blush | Beauty Blender | Temples | Final Touch |
For anyone looking to enhance their makeup routine, the lifted blush technique is a fabulous option. It not only adds color to your cheeks but also creates a youthful and vibrant appearance. By following the tips outlined above, you can master this trendy technique and elevate your beauty game.
FAQs
What is the lifted blush technique?
The lifted blush technique involves applying blush higher on the cheeks and towards the temples to create a lifted effect, enhancing facial features.
Which type of blush is best for a lifted look?
Cream blushes are often recommended for a lifted look because they blend seamlessly into the skin, but powder blushes can also be used effectively.
How do I apply blush for a lifted effect?
Smile to find the apples of your cheeks, then apply the blush above this area, blending towards the temples for a lifting effect.
Can I use multiple blush shades?
Yes, layering different shades of blush can add depth and dimension to your look, enhancing the lifted effect.

